Chapter 5: Controlling File and Directory Permissions
Chapter 5 was all about permissions. I learned how to check and change permissions and how to set default and special permissions.
The tree levels of permissions:
r: Permission to read. This grants permission only to open and view a file.
w: Permission to write. This allows users to view and edit a file.
x: Permission to execute. This allows users to execute a file, but not necessarily view or edit it.
chown: Stands for change owner. Grants ownership of a file to an individual.
chgrp: Stands for change group. Grants ownership of a file to a group.
ls-l: Checks what permissions have been granted to what users for a file or directory.
chmod: Changes permissions. Only the root user or a file’s owner can change permissions. There are two methods of changing permissions:
- Decimal Notation
In decimal notation, permissions are represented in binary (1 and 0) which is then converted into octal, an eight-digit number system that starts with 0 and ends with 7. An octal digit represents a set of three binary digits meaning we can represent an entire rwx set with one digit. The table below was helpful in understanding decimal notation.
Binary Octal rwx 000 0 — 001 1 –x 010 2 -w- 011 3 -wx 100 4 r–- 101 5 r-x 110 6 rw- 111 7 rwx
- UGO (user, group, others) syntax
- With UGO syntax, you enter the chmod command and then the users you want to change permissions for. The “u”is for user, “g” is for group and the “o” is for others. This is followed by one of three operations:
- Removes a permission is represented by the minus sign (-).
- Adds a permission is represented by the plus sign (+).
- Sets a permission is represented by the equals sign (=).
- With UGO syntax, you enter the chmod command and then the users you want to change permissions for. The “u”is for user, “g” is for group and the “o” is for others. This is followed by one of three operations:
umask: Stands for “user file-creation mode mask”. It controls the default permissions assigned to newly created files and directories.
SUID: Grant temporary root permissions.
SGID: Grants the root user’s group permissions.
sticky bit: Permission that you can set on a directory to allow a user to delete or rename files within that directory. This was used on older Unix systems and is not used on modern systems.
privilege escalation: A regular user gains root or sysadmin privileges and associated permissions.
Now that I’ve defined the terms, I’m moving on the exercises.
Exercises
Select a directory and run a long listing on it. Note the permissions on the files and directories.
I added some files to the hacker directory I created from a previous chapter, then ran a long listing on the directory.

Select a file you don’t have permission to execute and give yourself execute permissions using the chmod command. Try using both the decimal method and the UGO method.
I used the decimal method to give myself execute permissions of the devfile and used this metod to revert the file back to its original permissions.


I used the UGO method to give myself execute permissions and revert the file back to its original permissions.


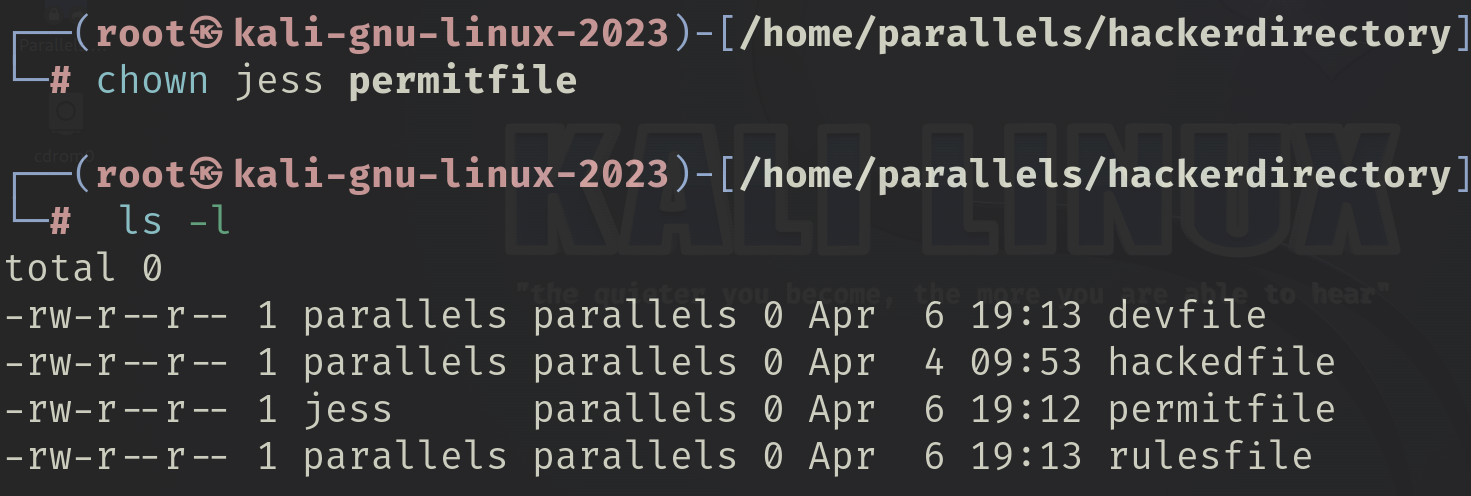
Choose another file and change its ownership using chown.
I used the permitfile for this exercise. Before changing ownership, I logged in as a root user and added a new user named jess. Then, I changed ownership of the file to jess.


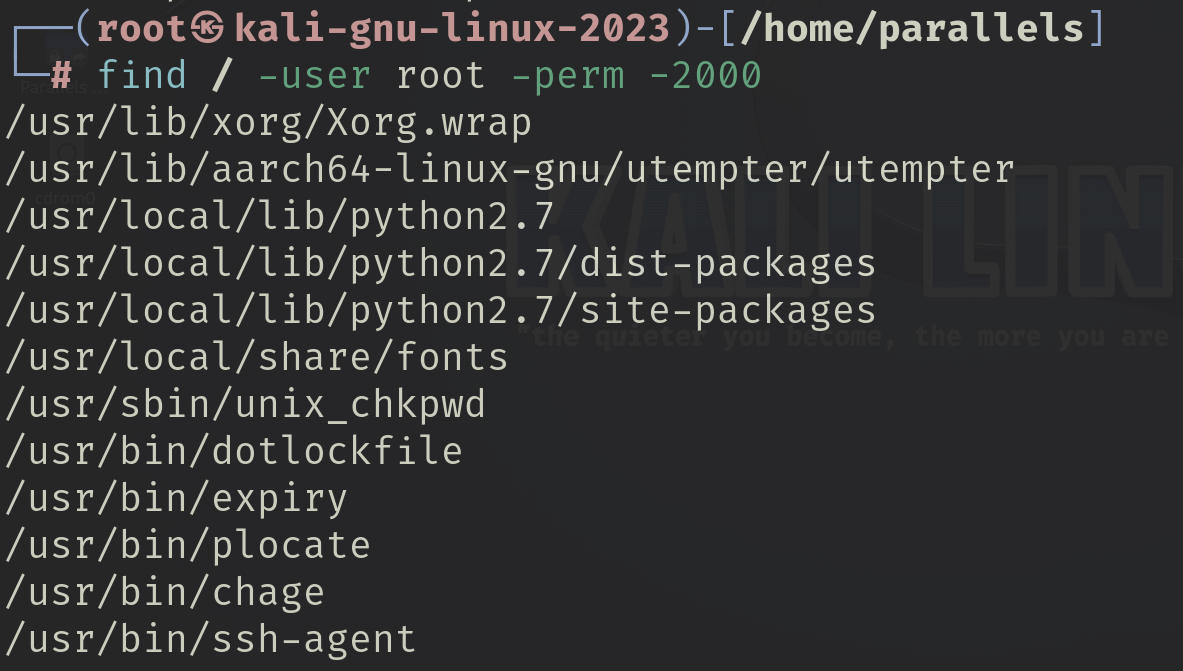
Use the find command to find all files with the SGID bit set.

One thing that caught my attention about this chapter was the concept of the root user vs other users and how it operates much like IAM in AWS. The root user is all-powerful and can do anything on the system while other users have limited permissions.
These other users are organized into groups that share a similar job function. The idea is to put people with similar needs into a group that is granted the relevant permissions and each person in the group inherits the group permissions. It immediately reminded me of a task I did as part of the 30 Day Cloud Challenge where I created IAM users and groups where users were grouped according to their job functions and each group had different permissions.
Well that’s all for now! Moving on to chapter 6!