For Days 12-15, here was the following prompt:
Create an HTML file to your S3 Bucket, Configure the bucket for static website hosting. Feel free to be as creative as you want with your HTML website. It can have a few words or be very creative depending on your skill level/want to make it pretty! What is a static website? Is this public or private?
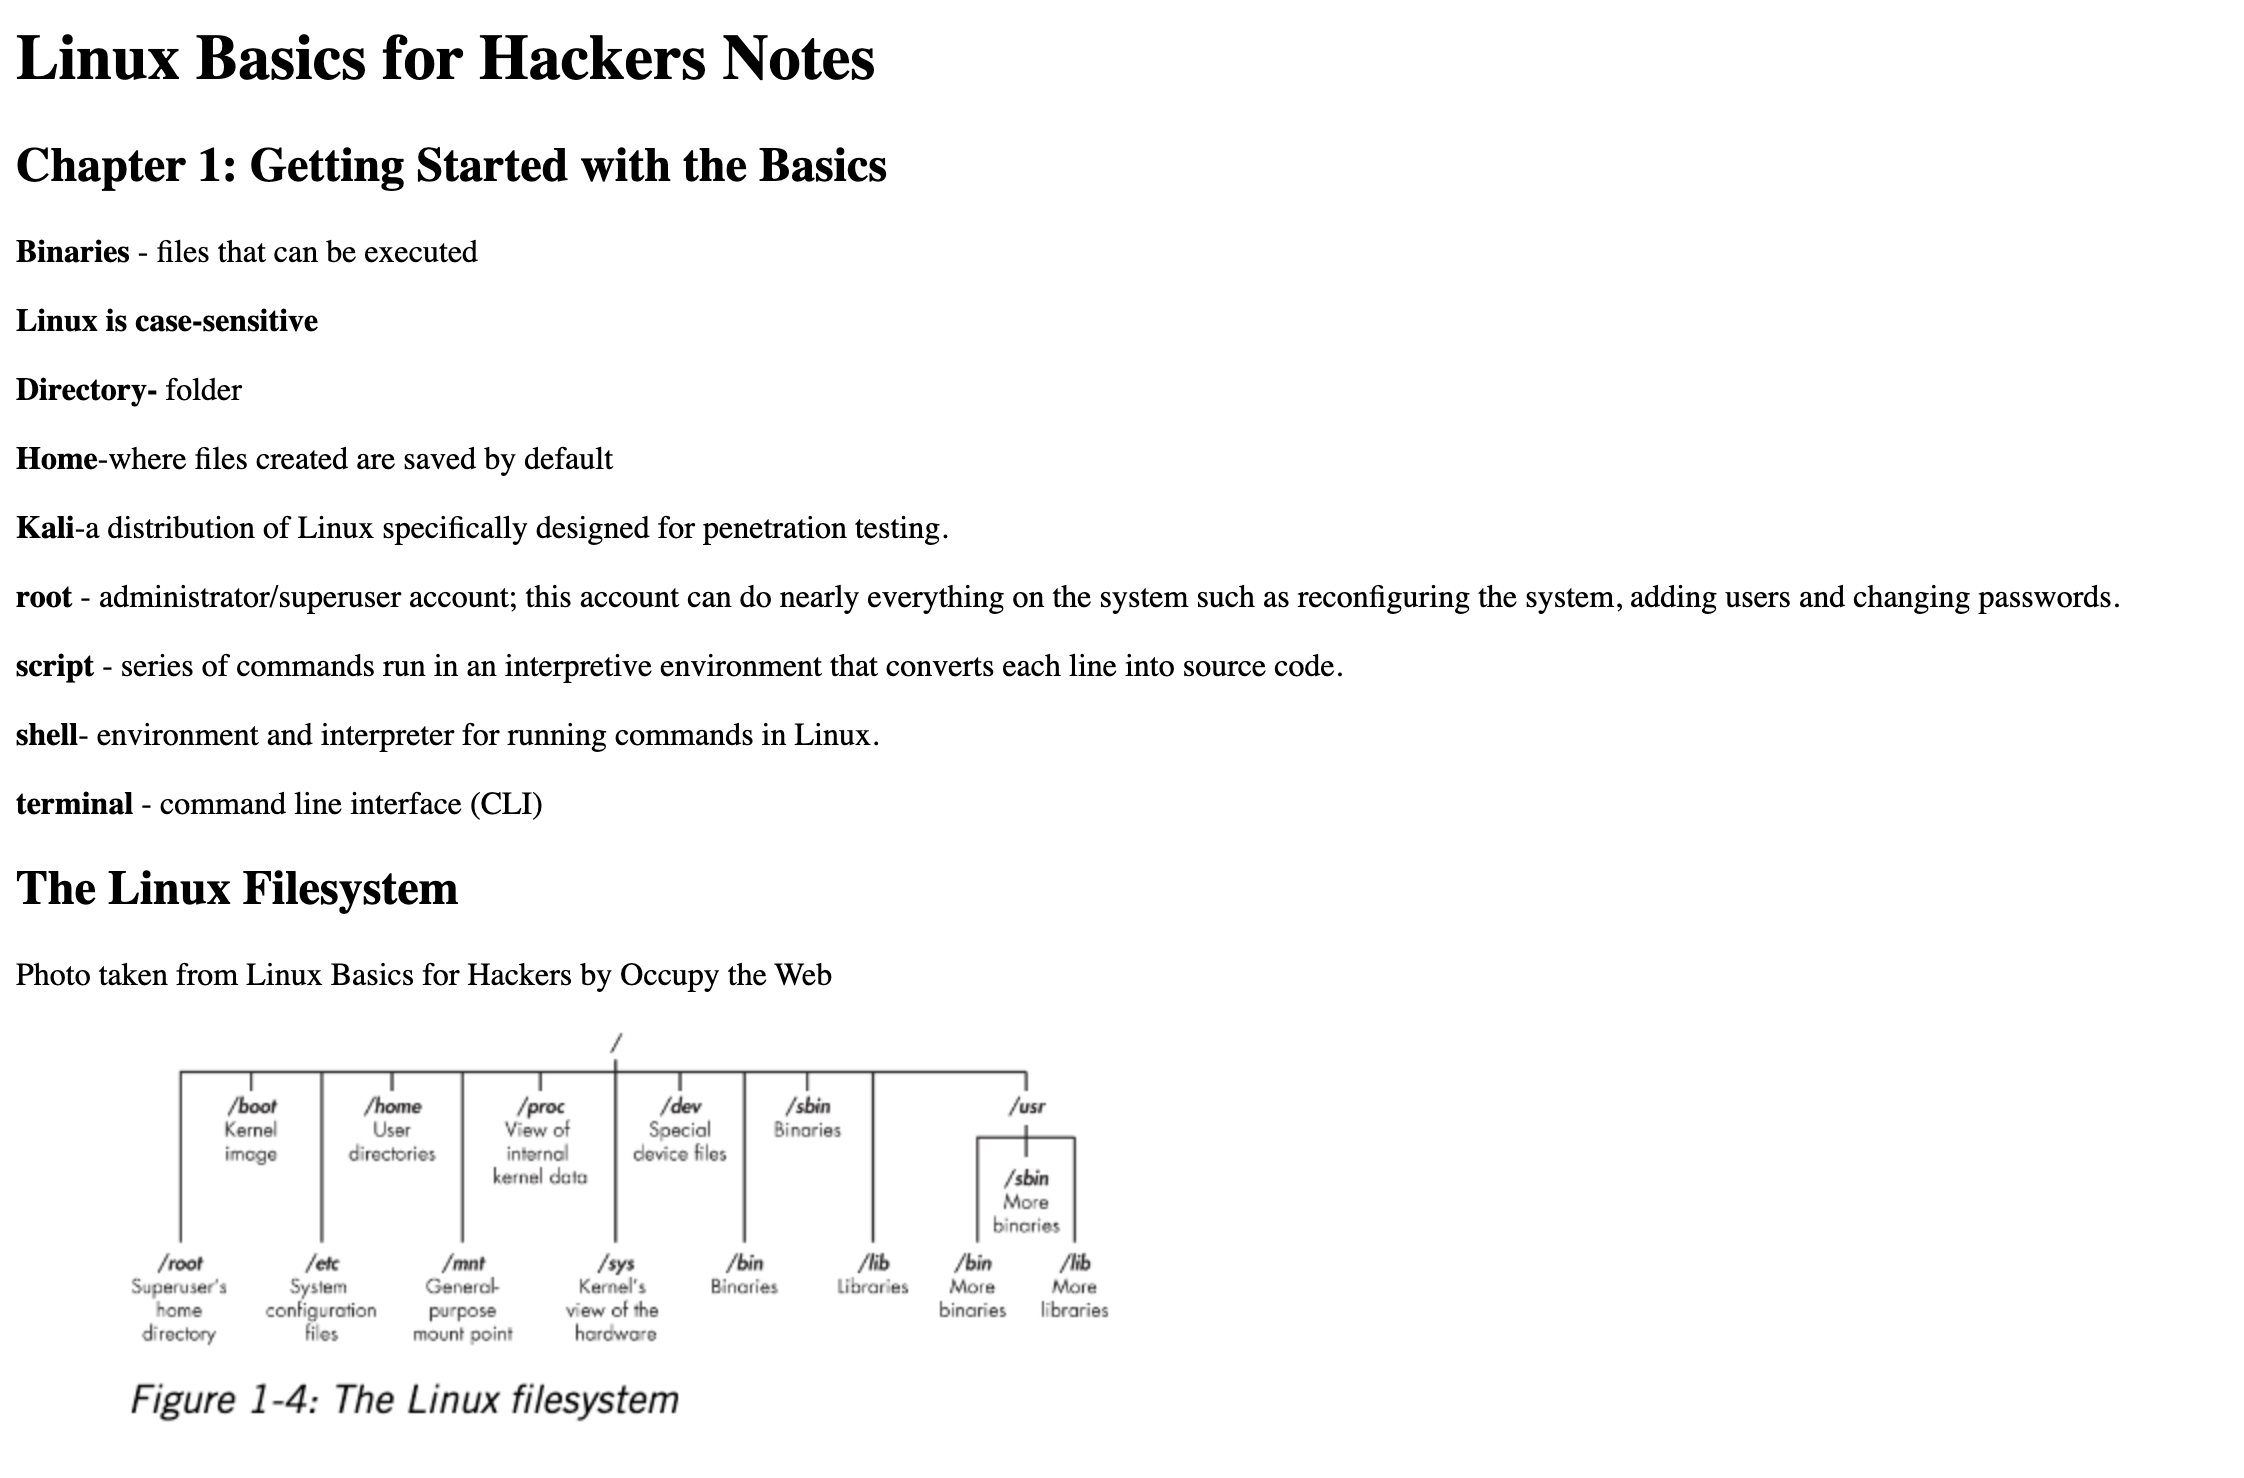
A static website is a website whose contents are fixed and do not change automatically. This blog is an example of a static website.
As mentioned in a previous post, I tried in the past to host a static website. So, I am using this challenge to try it again and successfully host the site in a S3 bucket with some assistance from this video.
I decided that I would use the site to host my Linux notes. After building the index.html file, I would create my S3 bucket. The process is the same as before with one major exception. I turned off the “Block all public access” option. I saved the changes and was led to this page showing me that my bucket was successfully created.

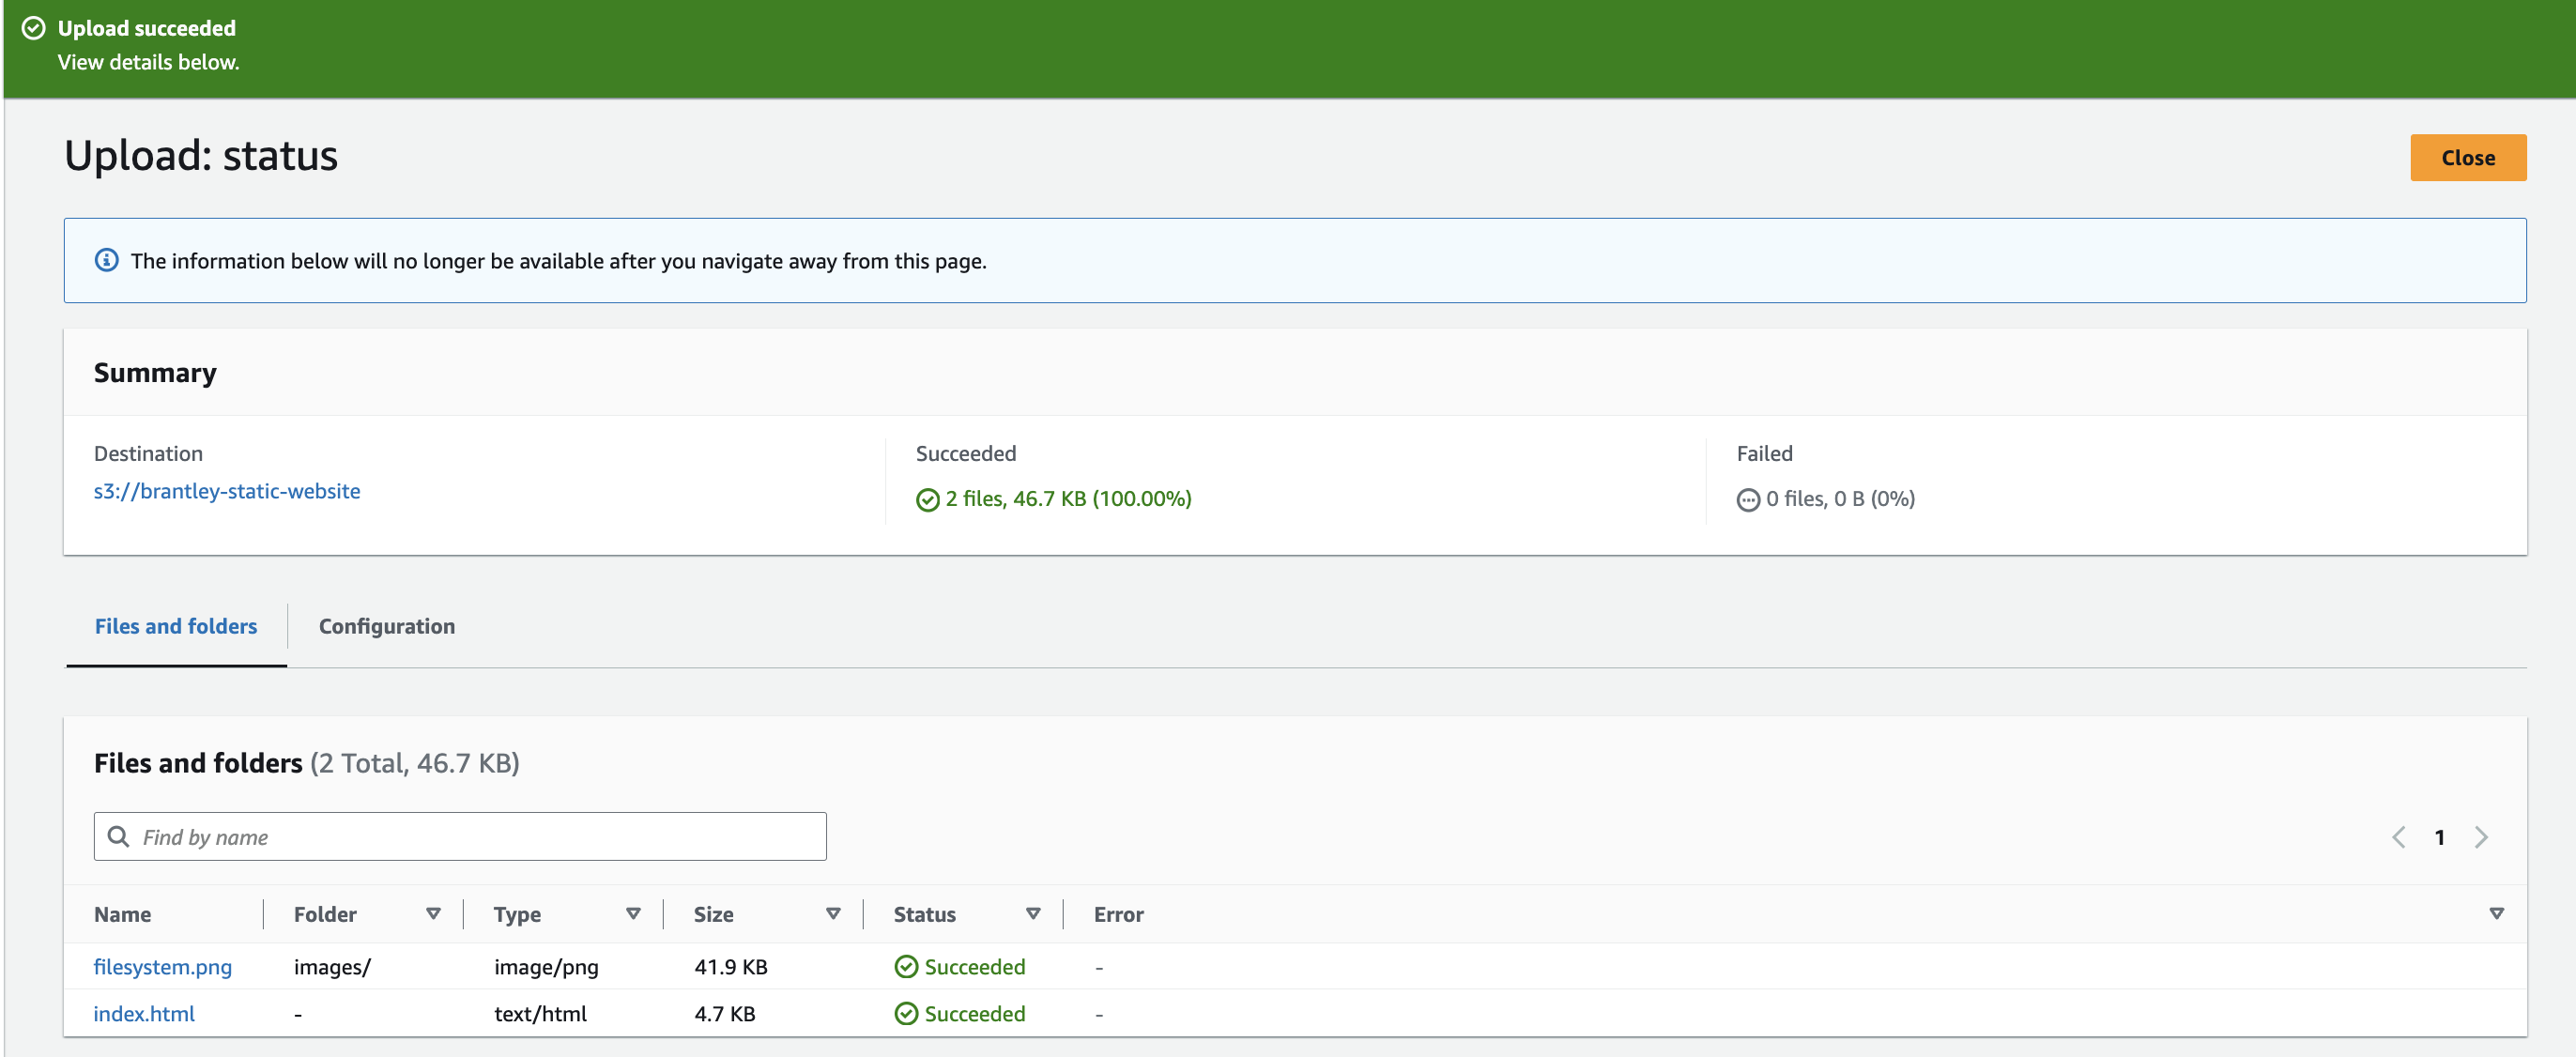
I uploaded the index.html file along with an images folder that contained my photo. After uploading my files, I was led to the status page informing me that my upload was successful.
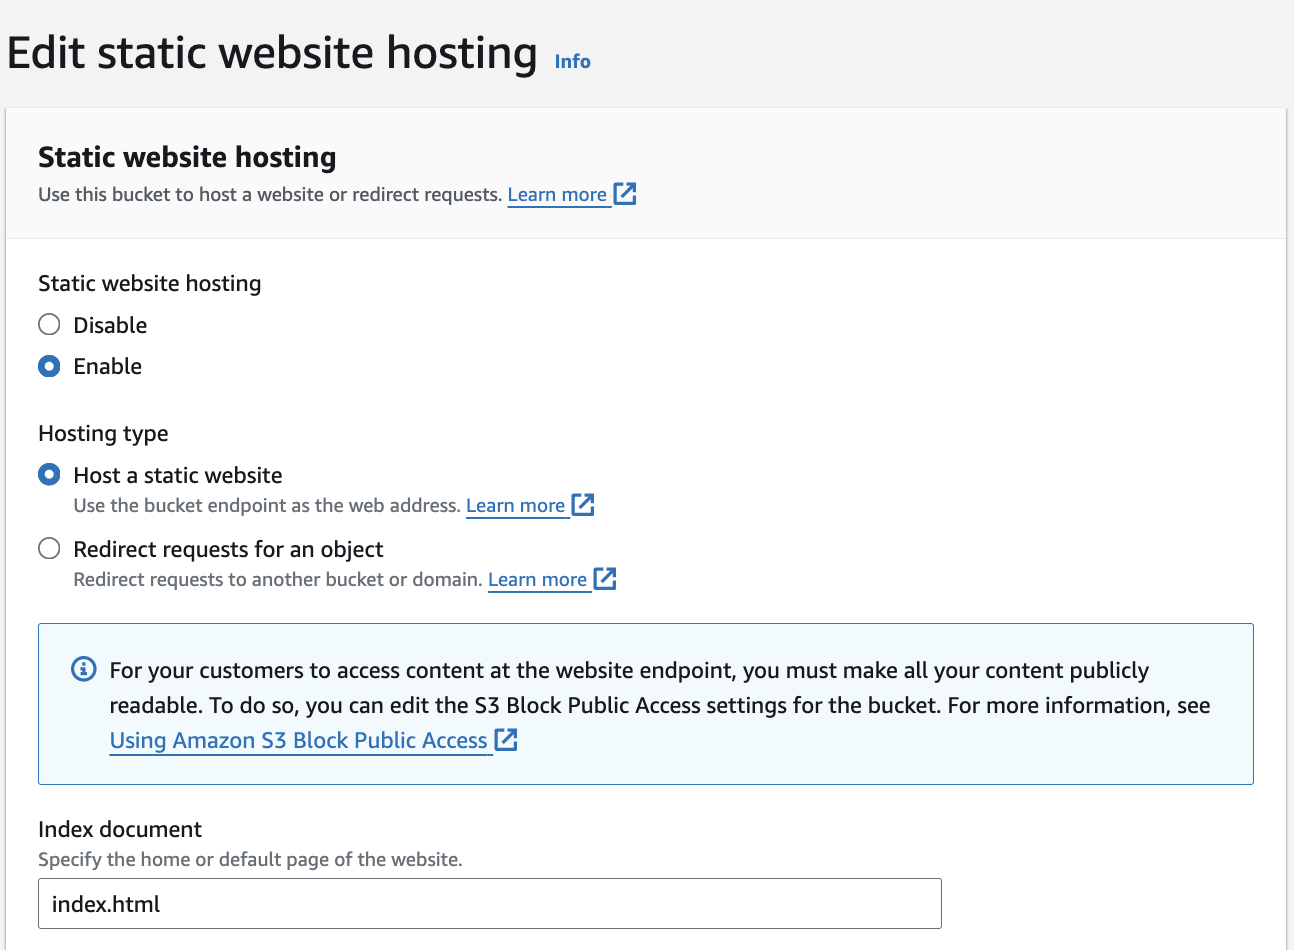
After closing this page, I went ahead to the buckets page and selected “Properties”. At the end of the Properties page, there is a section called “Static website hosting”. By default, static website hosting is disabled so I had to enable it by selecting “Edit” to make changes to the “Edit static website hosting” page.
As you can see from the screenshot, I enabled static website hosting, under hosting type I selected the “Host a static website” option, and specified the index.html file as the default page for my site.

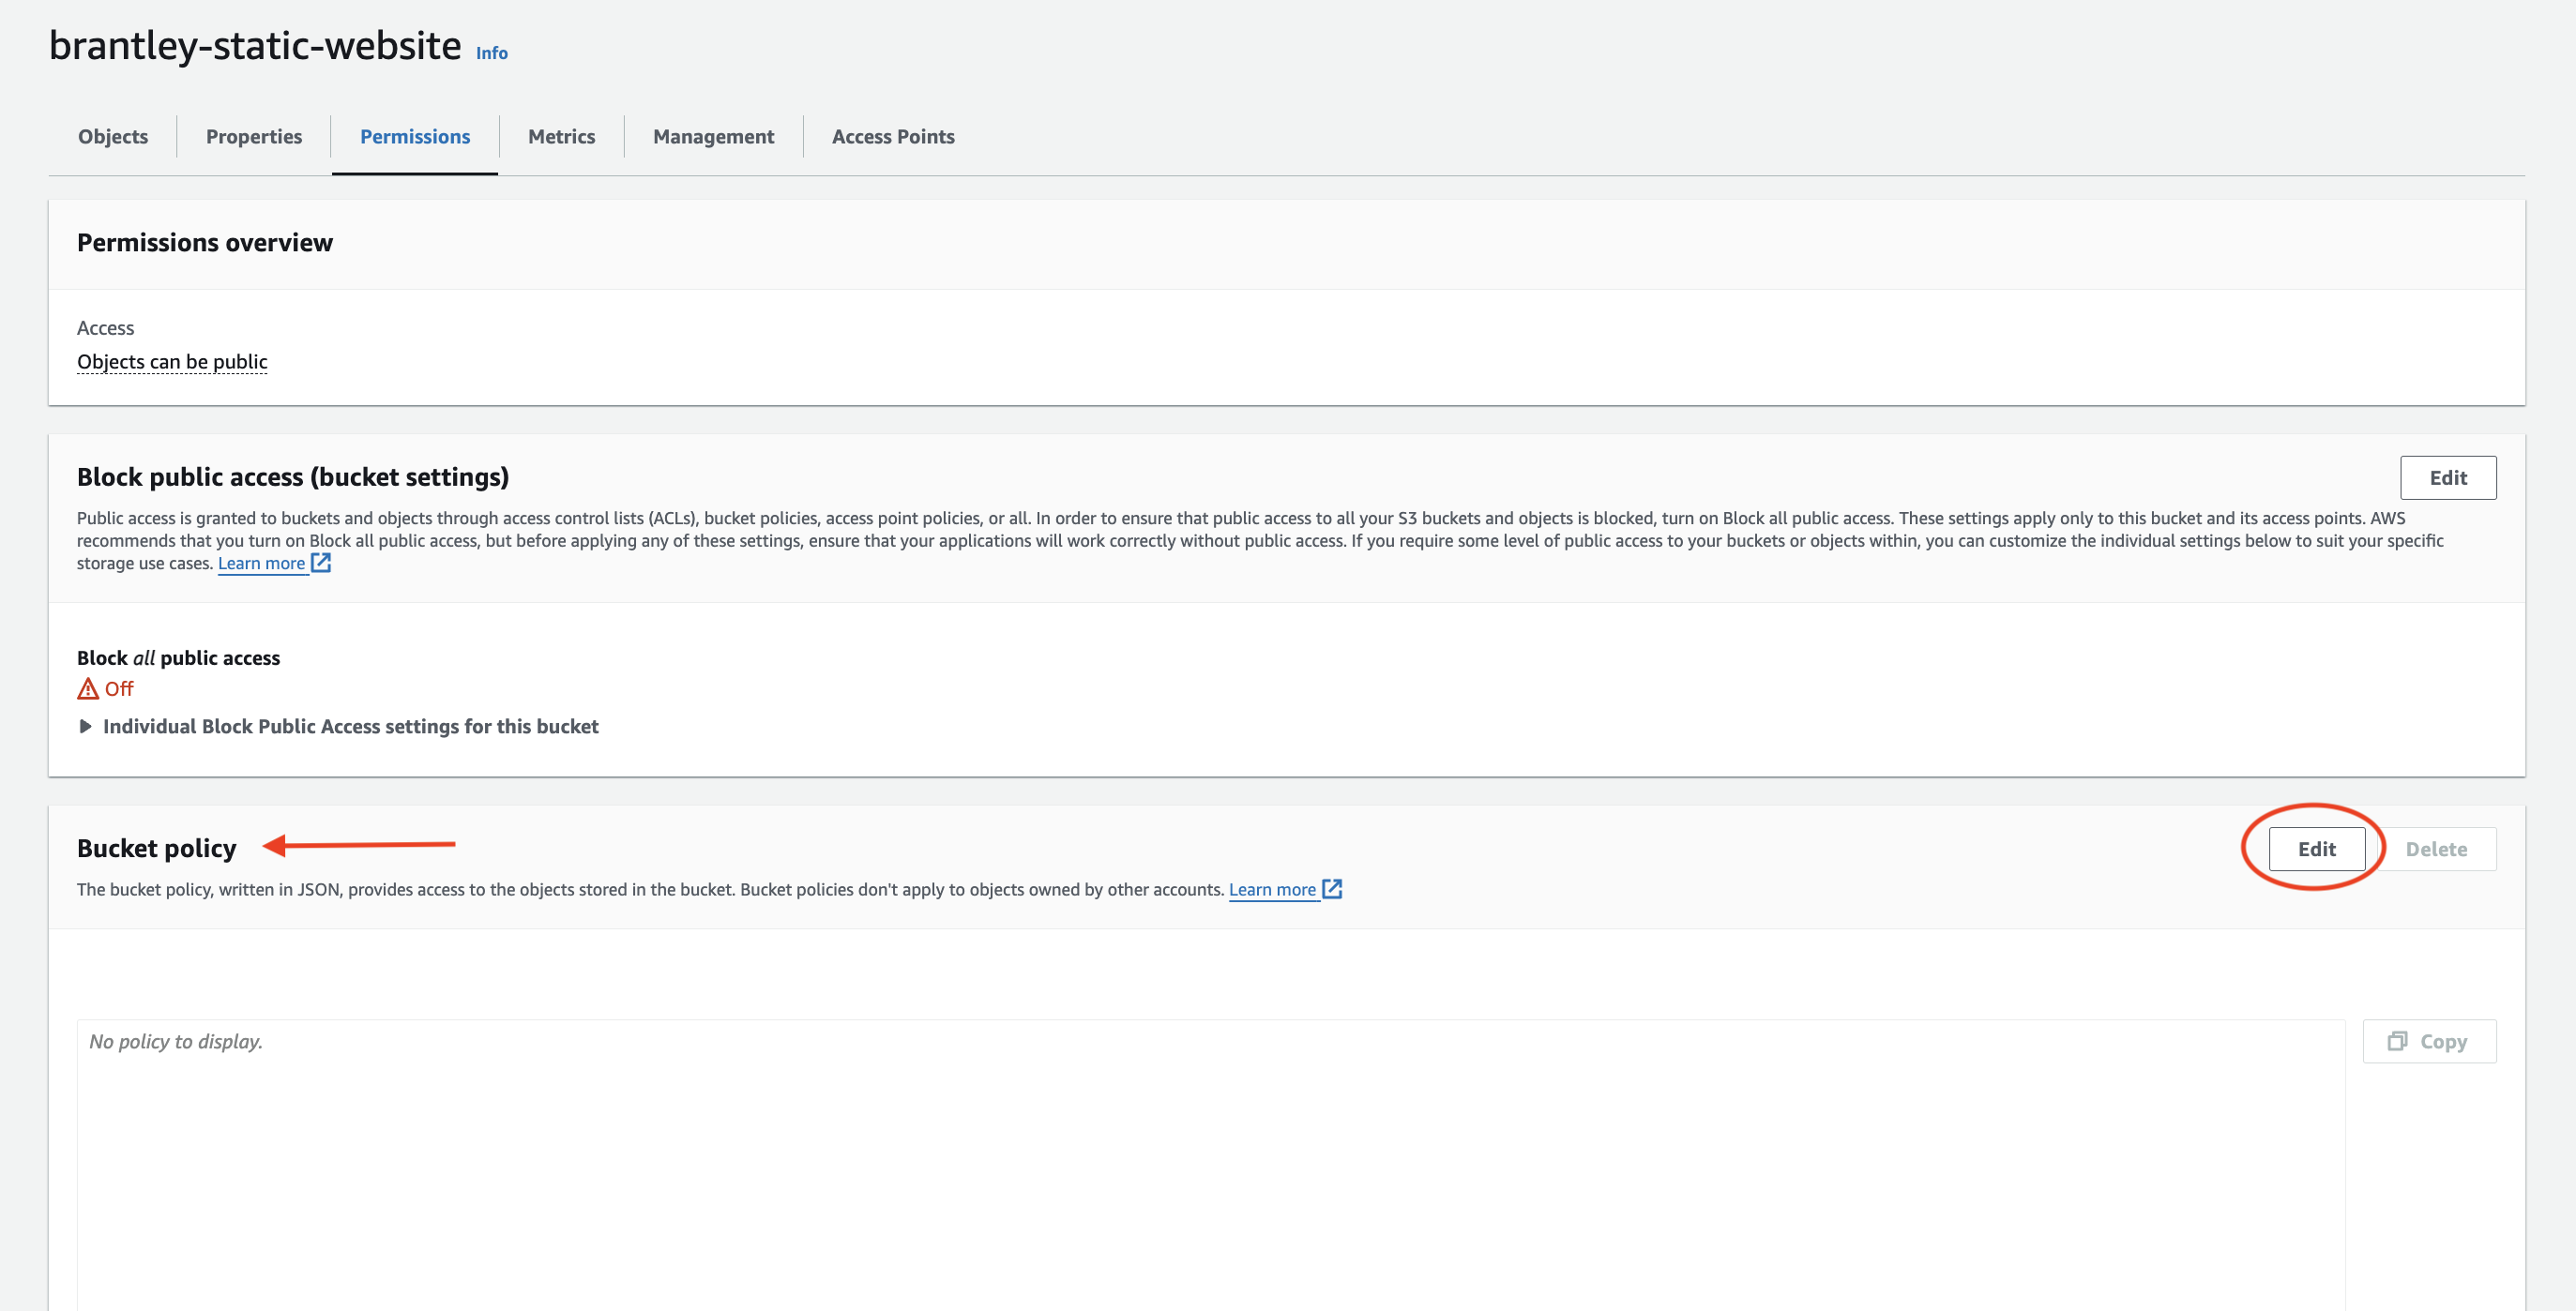
After editing the static website hosting page and saving my changes, I headed over to the “Permissions” tab to attach a bucket policy. A bucket policy will make my content publicly available. The template for the bucket policy can be found in the S3 User Guide under Step 4. I made sure to replace the placeholder “Bucket-Name” with the name of my bucket.

After successfully adding the bucket policy, I went back to the “Objects” tab and selected the index.html file to open it. I could also use the Object URL to access the site like I showed previously.

This is what my static website looks like.
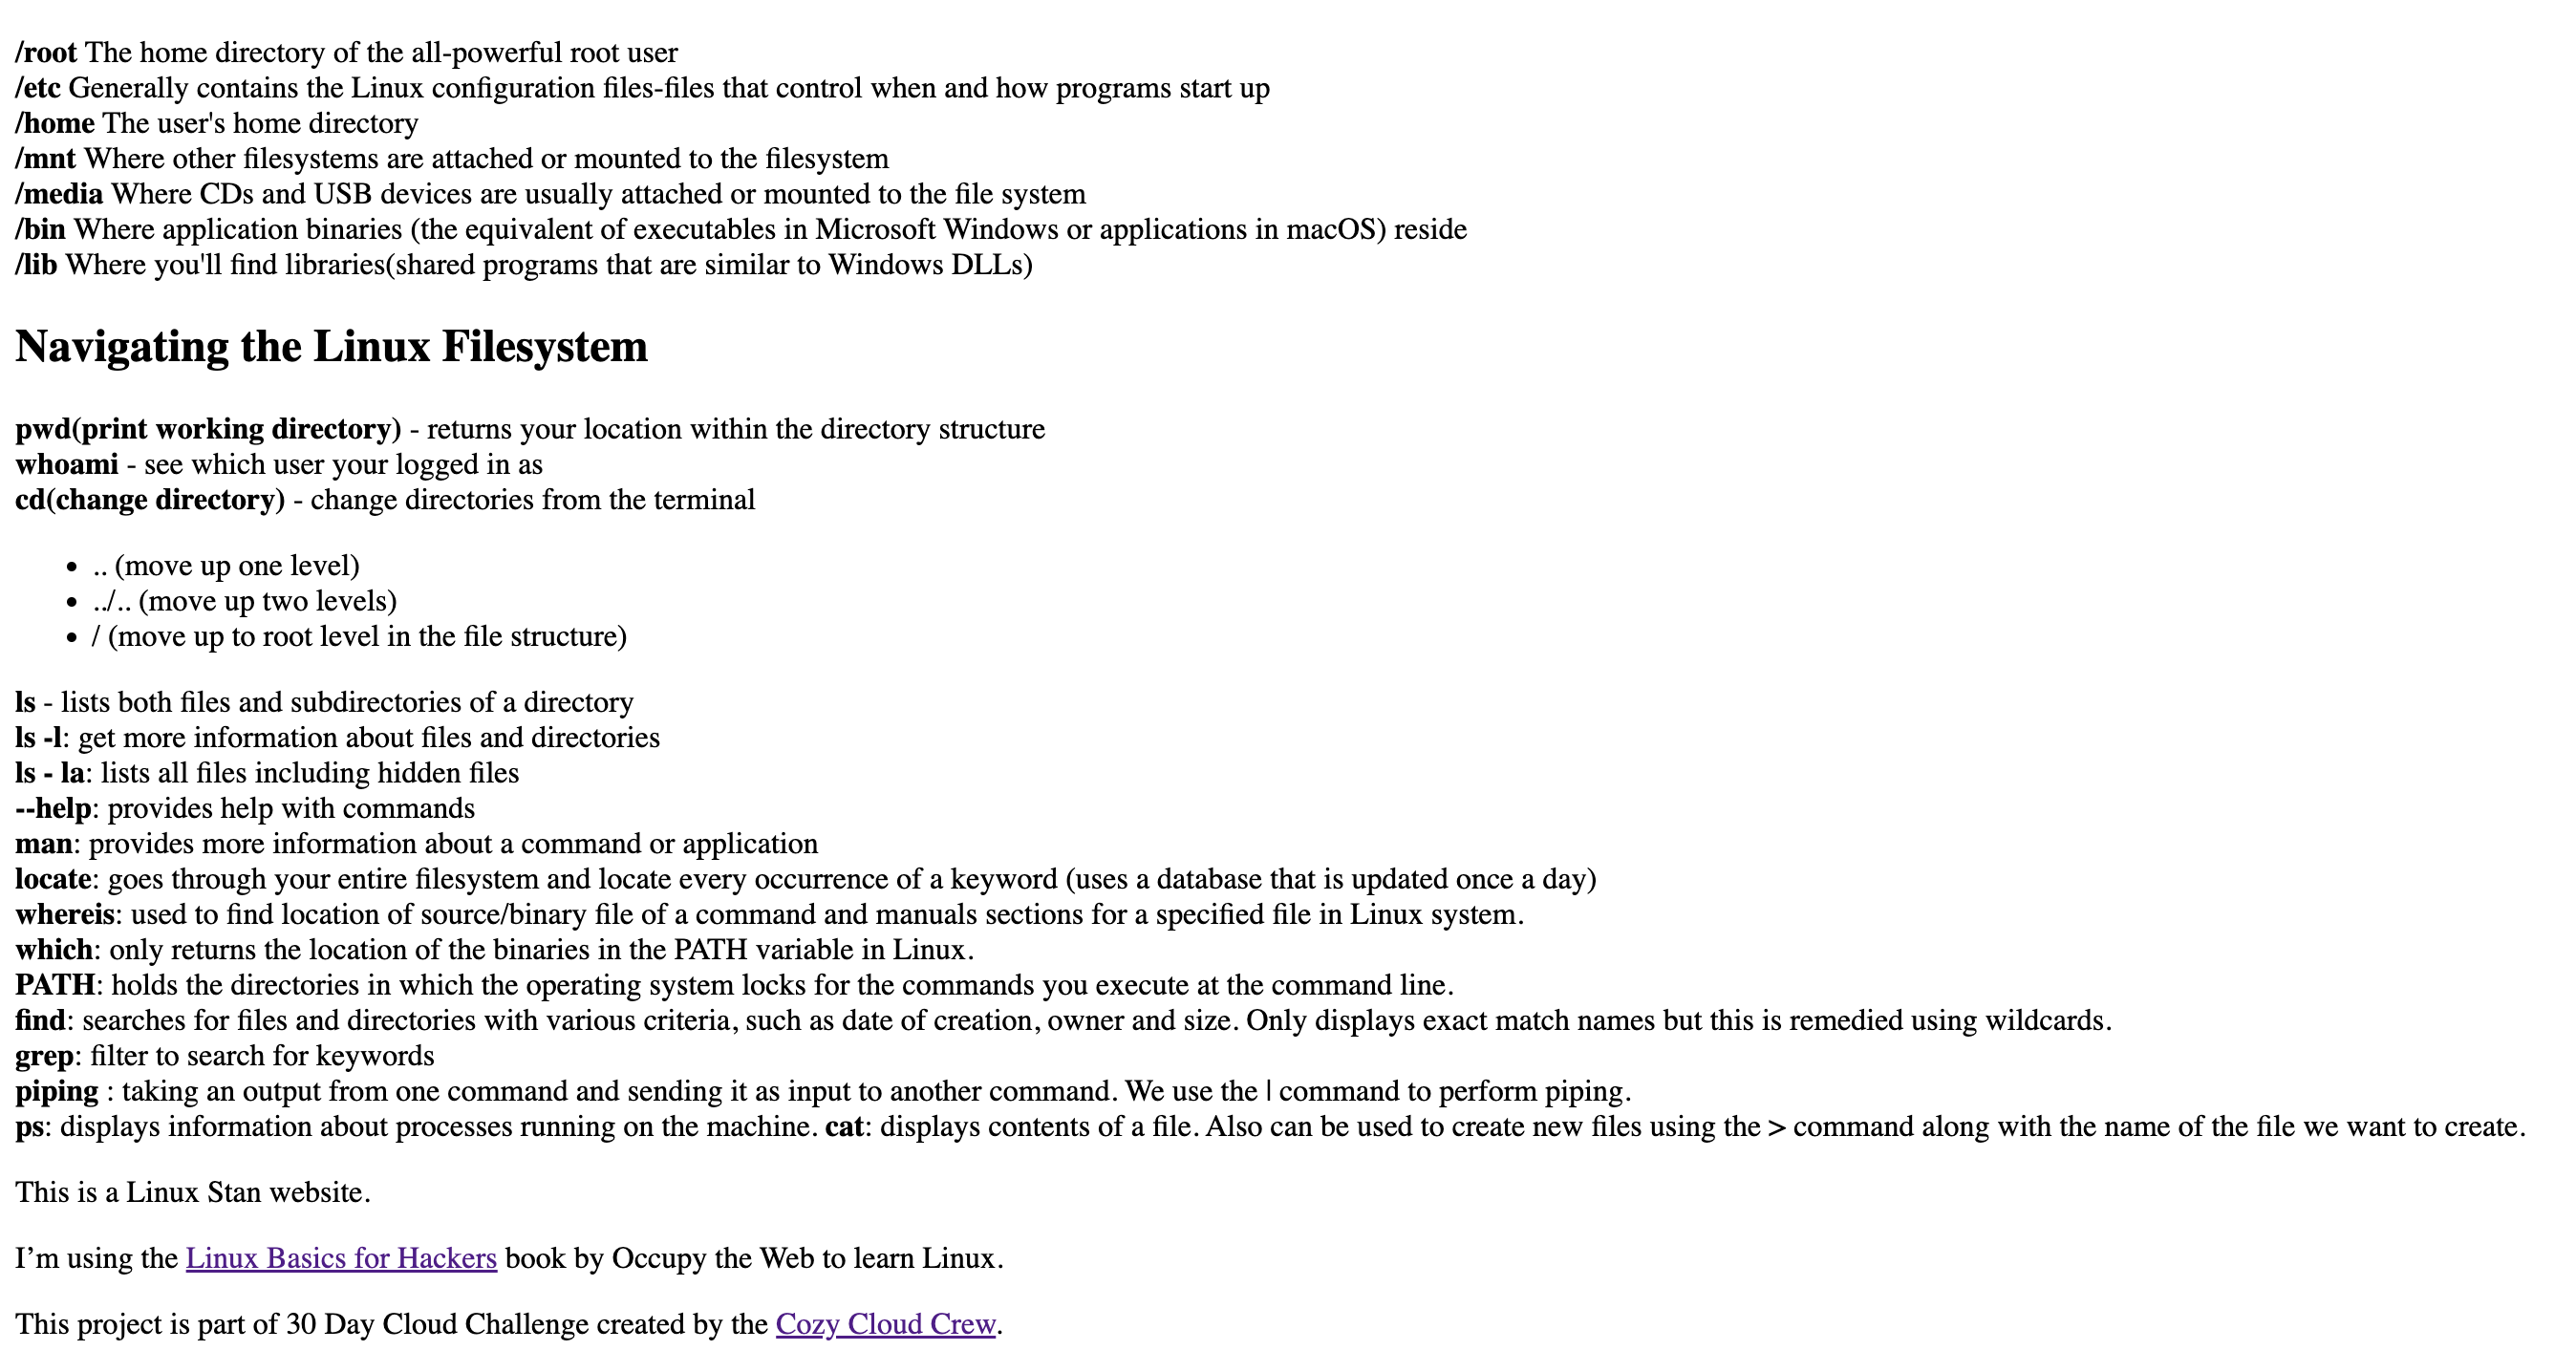
So, is this site public or private? It is a public website because we turned off the block public access option and enabled a bucket policy that allows the site to be publicly accessible. This means that anyone can access and view the contents of my site. So it is crucial to put security measures in place to minimize risks.
I am very excited to have successfully hosted a site using S3. In the future, I would like to create a portfolio site using S3 and connect it to a custom domain using AWS’ Route 53 service.
These past few days with S3 have been a great learning experience. But now I’m off to learn about databases!