For Days 18-20 of the challenge: here’s the prompt:
Create a mySQL database with a sample table! A few suggestions here: Make sure to use a free tier option, make sure to use small instances such as db.t2.micro options.Tip: Databases take a long time to create so this may take a second to get up and running. Delete this table when you are done using it for these 2 days.
I used the tutorial suggested by Cozy Cloud Crew so that I could stay within the free tier.
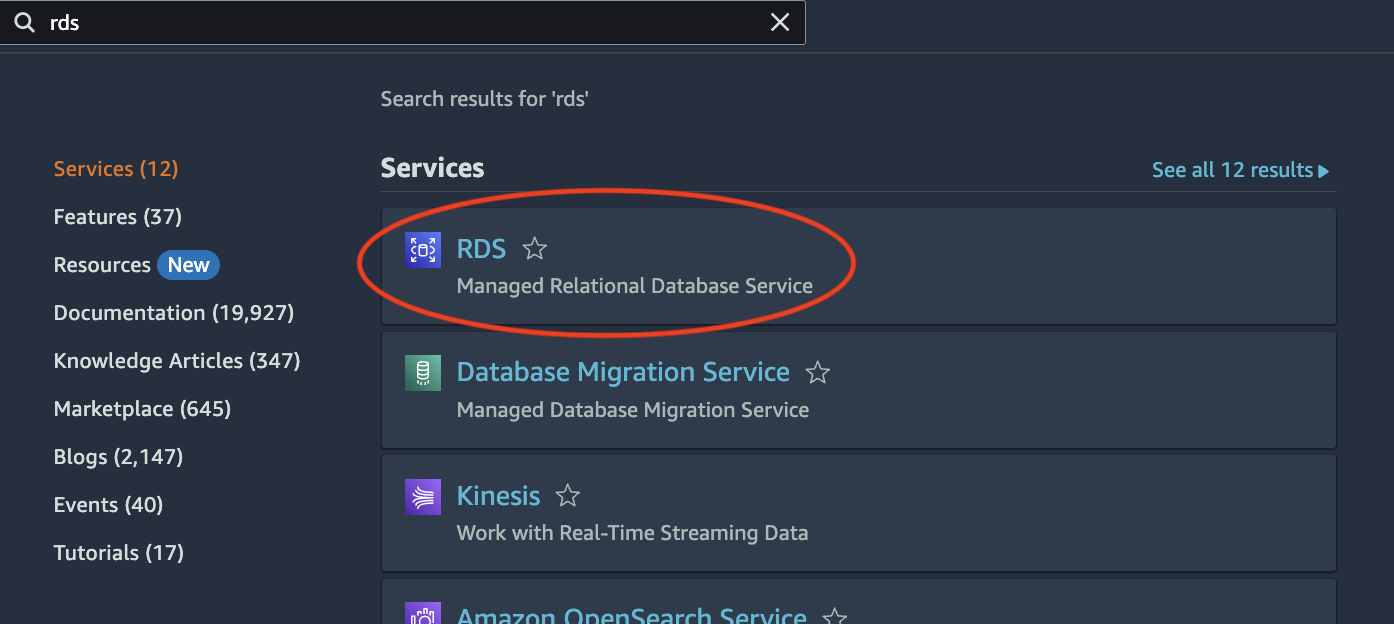
I went to the console and searched for RDS, AWS’ relational database service. Scrolling down on the Amazon RDS page, I clicked on “Create database”.

After clicking on “Create database”, I went through the Create database page. Leaving the database creation method as the default “Standard create” option, I selected the MySQL engine option. I left everything else as the default.

I selected the “free tier” template which automatically chooses the “Single DB instance” option. I left everything as it was and entered my chosen password.

Again, with the “Instance configuration” and “Storage” sections, I left these settings as is.

Here in the “Connectivity” section, I selected the “Don’t connect to EC2 compute resource” option, selected “No” for public access and selected my availability zone. In the tutorial, this option was left as “No preference”, however I decided to select the availability zone closest to me, us-east-1a. Everything else stayed as is.

For database authentication, I chose “password authentication” so I could use the password I created.
Scrolling down the page, I was shown the estimated monthly costs. This is where I got confused. Notice that there is a monthly cost of $14.71 shown here. In the tutorial, there is no price that shows up though the second box which informs me about what I receive in the free tier does show up.
The free tier is available for 12 months, so I’m thinking the $14.71 is what the monthly charge will be after the 12 months is over.
After clearing that up, I clicked on “Create database.”

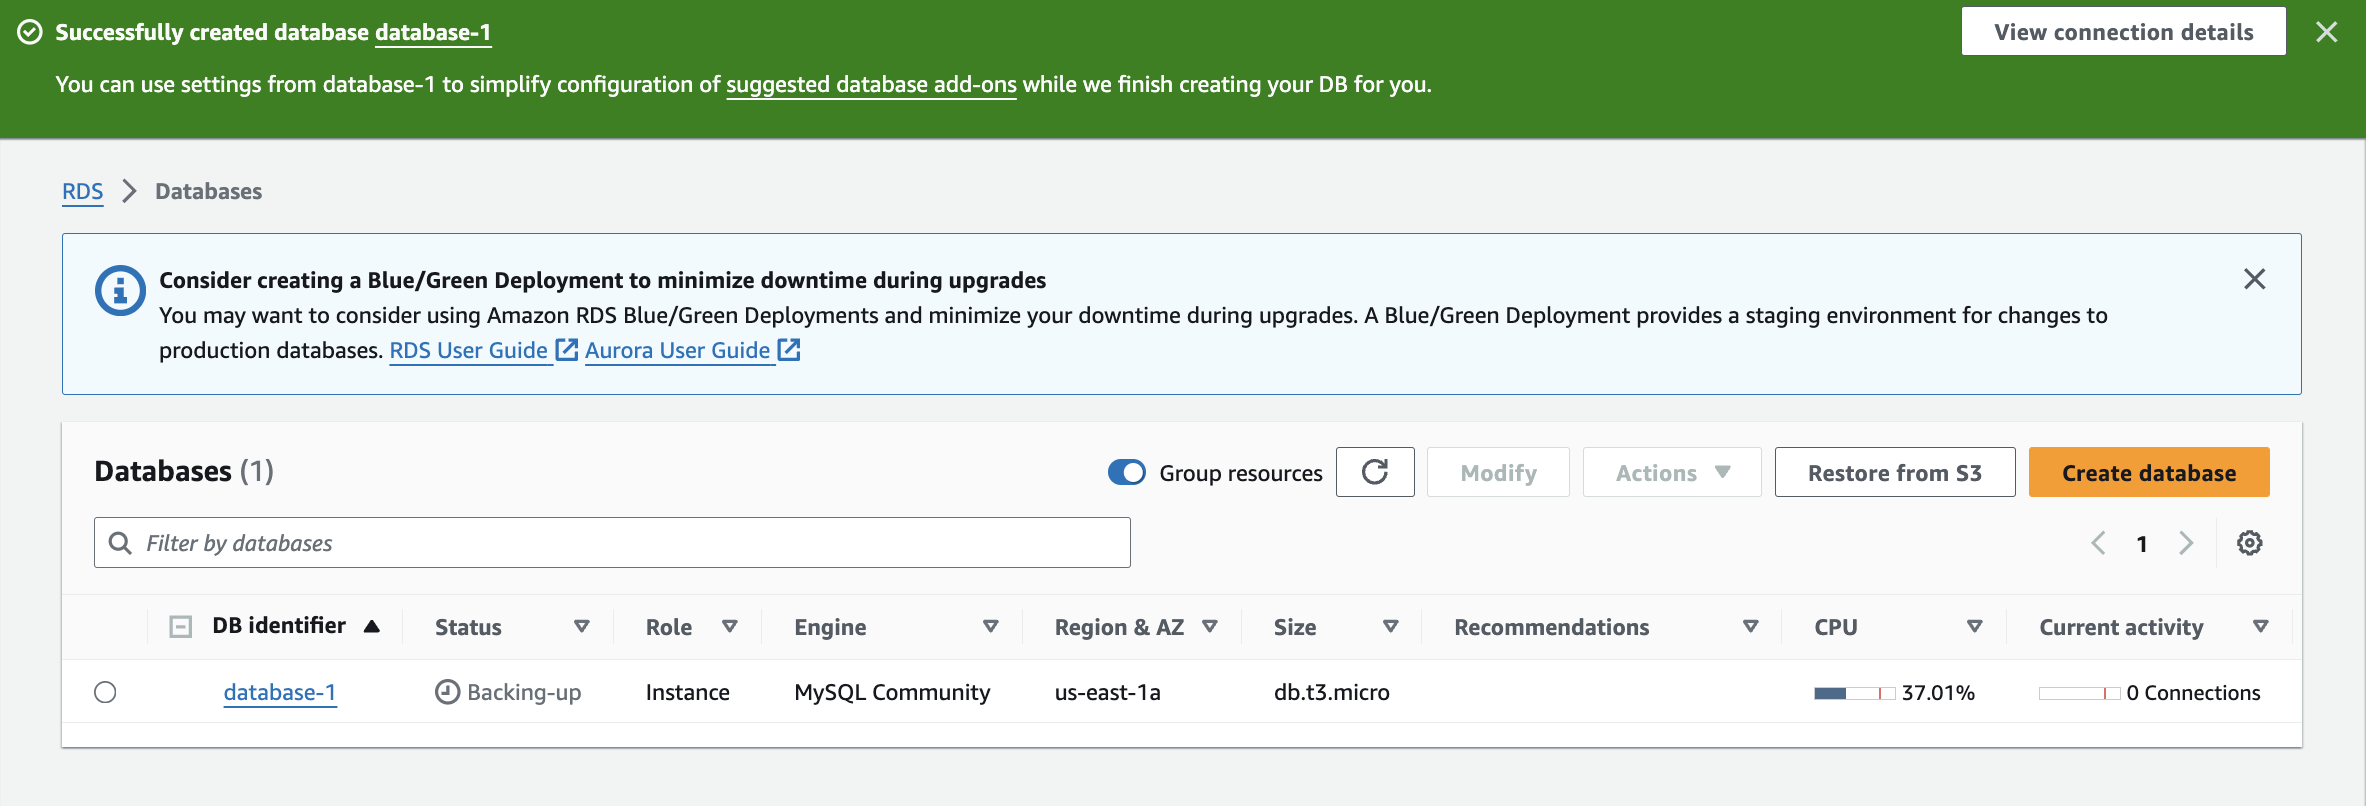
It took several minutes for my database to be created but as shown here, my database was successfully created. I clicked into my database, taking note of the endpoint and port. I also took note of the username and password I created earlier.
I went to YouTube and searched videos on how to add a table to a RDS instance and I came across this video by i9 Cloud Trainings. I installed MySQL and MySQL Workbench with help from a Udemy course I took a few years ago called, The Ultimate MySQL Bootcamp: Go from SQL Beginner to Expert by Colt Steele. After installing both of these, I went back to the i9 Cloud Trainings video.
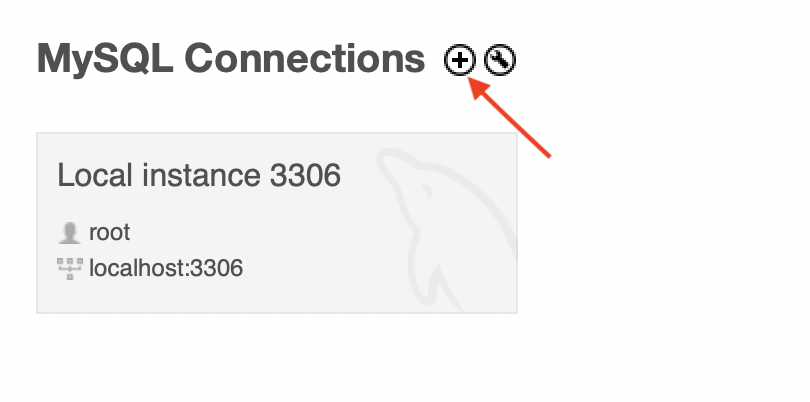
I opened MySQL Workbench and clicked on the plus sign to add a new connection.
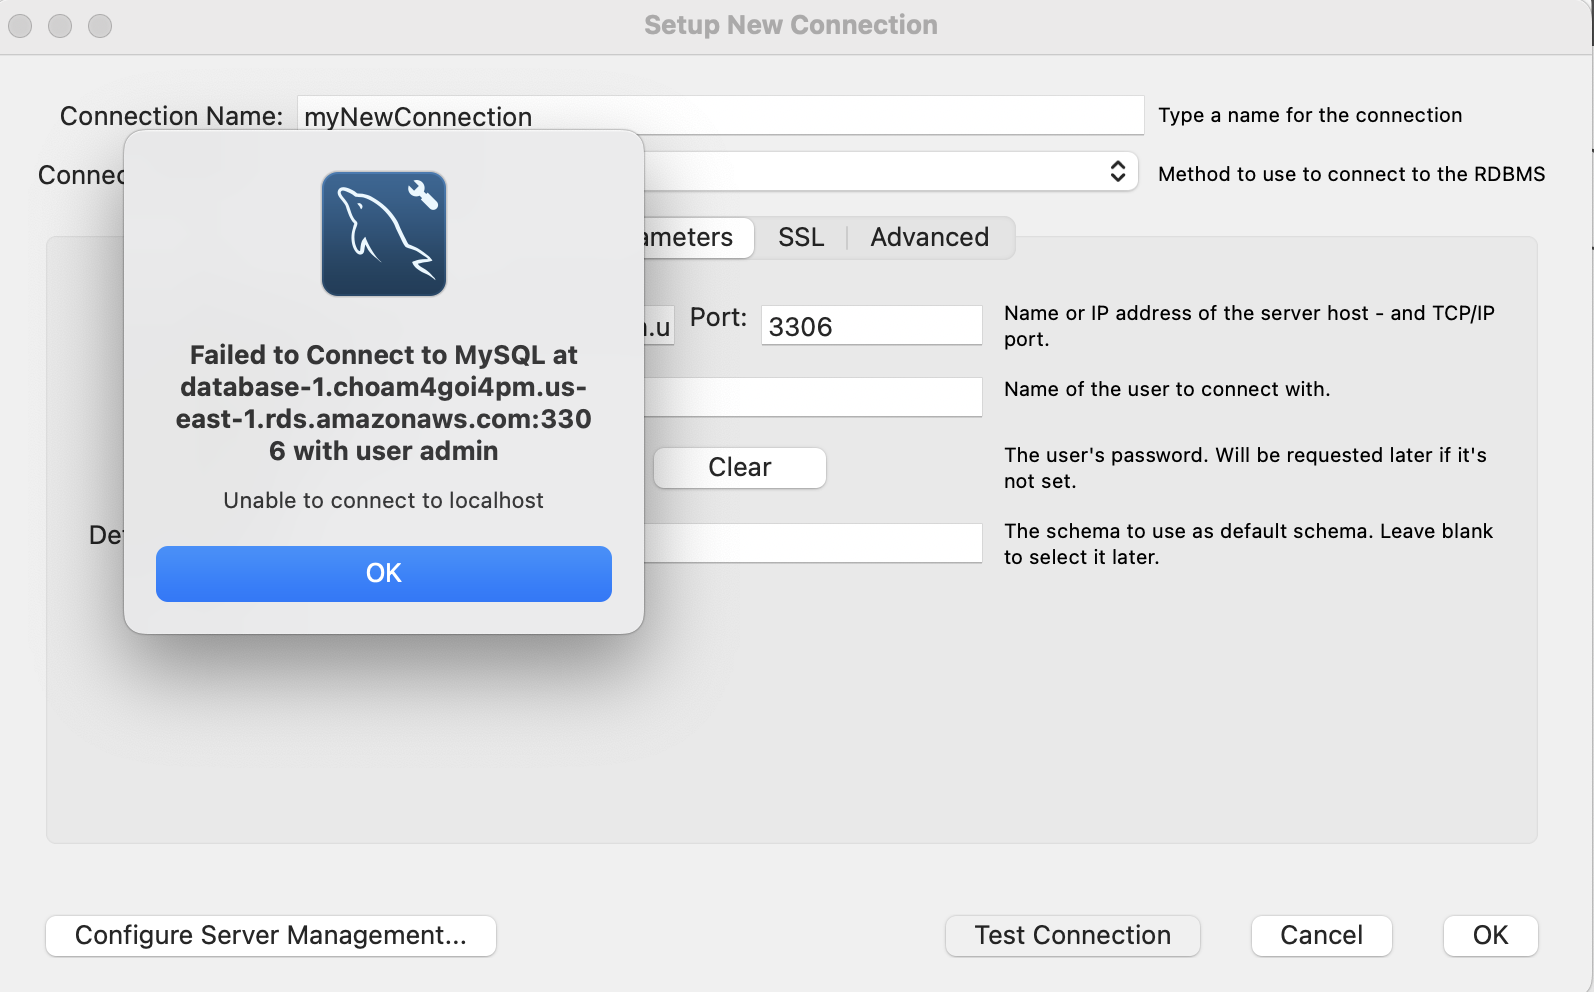
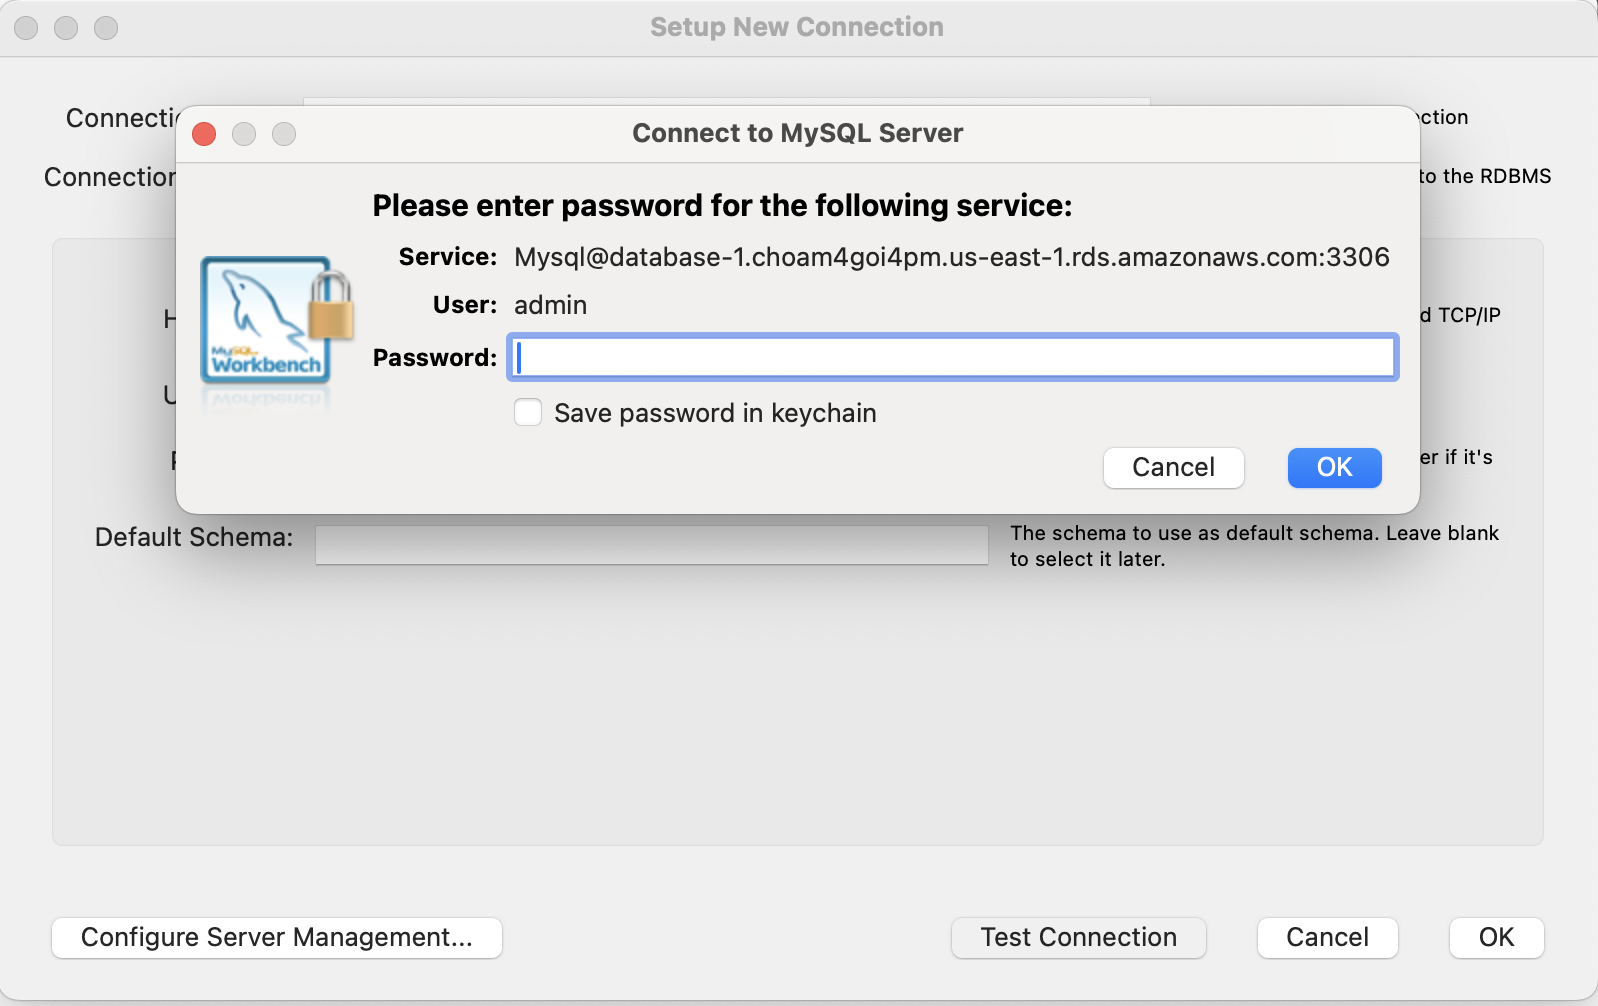
I attempted to create the new connection, creating a connection name, replacing the hostname with the endpoint and replacing the username with admin, the user name I created earlier. I tested my connection but as shown, there is an error. This is because I selected “No” for public access when creating the database.
I went back to my database. I selected “Modify” and under Connectivity > Additional configuration I selected “Publicly accessible.”


After I selected this option, I scrolled down and clicked “Continue” and on the next page clicked “Modify DB instance.”
After about a minute or two, the database was modified for public access.
I went back to MySQL Workbench and tried to test the connection again. However, I still got the same error. The i9 Cloud Trainings video showed the creator editing the inbound rules of a security group.
I went back to my database page scrolled down to “Security group rules” and selected the security group with the “EC2 Security Group - Inbound” type. I clicked into the security group to edit the Inbound Rules. I deleted the default rule and added my own, selecting the type and source. After that, I clicked on “Save rules”.
I went back to MySQL Workbench to test the connection once again. And to my surprise and excitement, it worked!
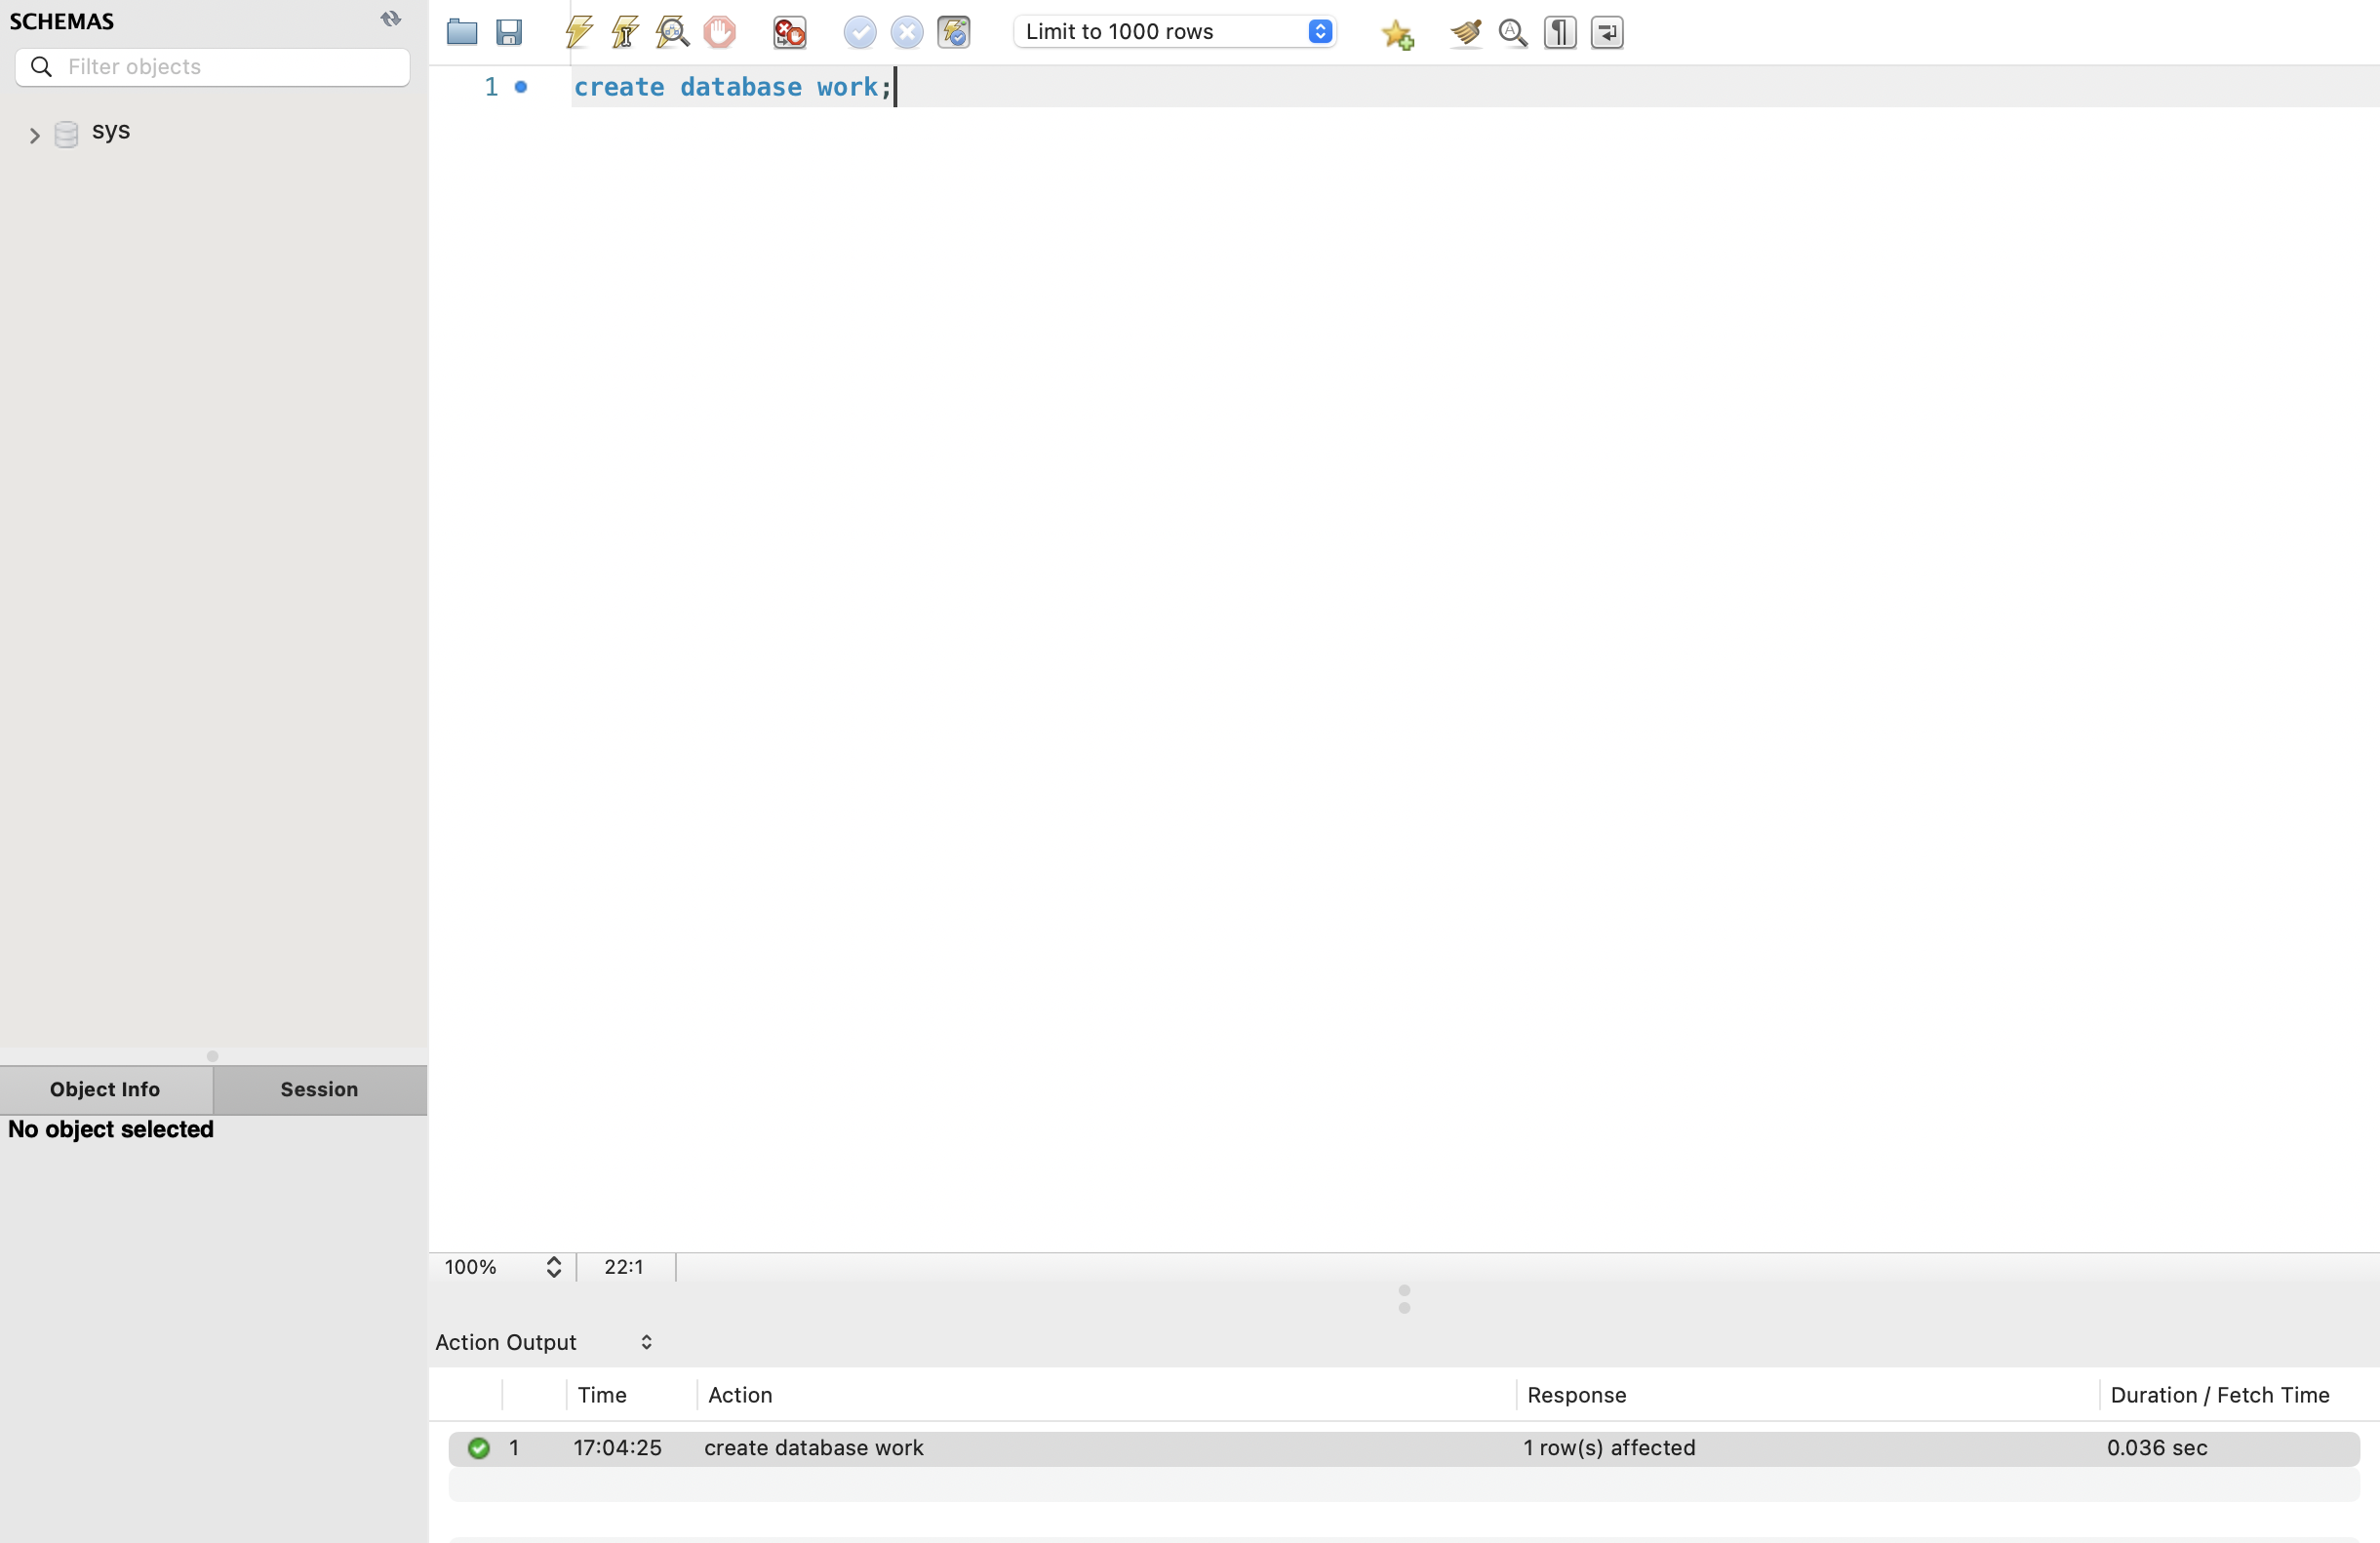
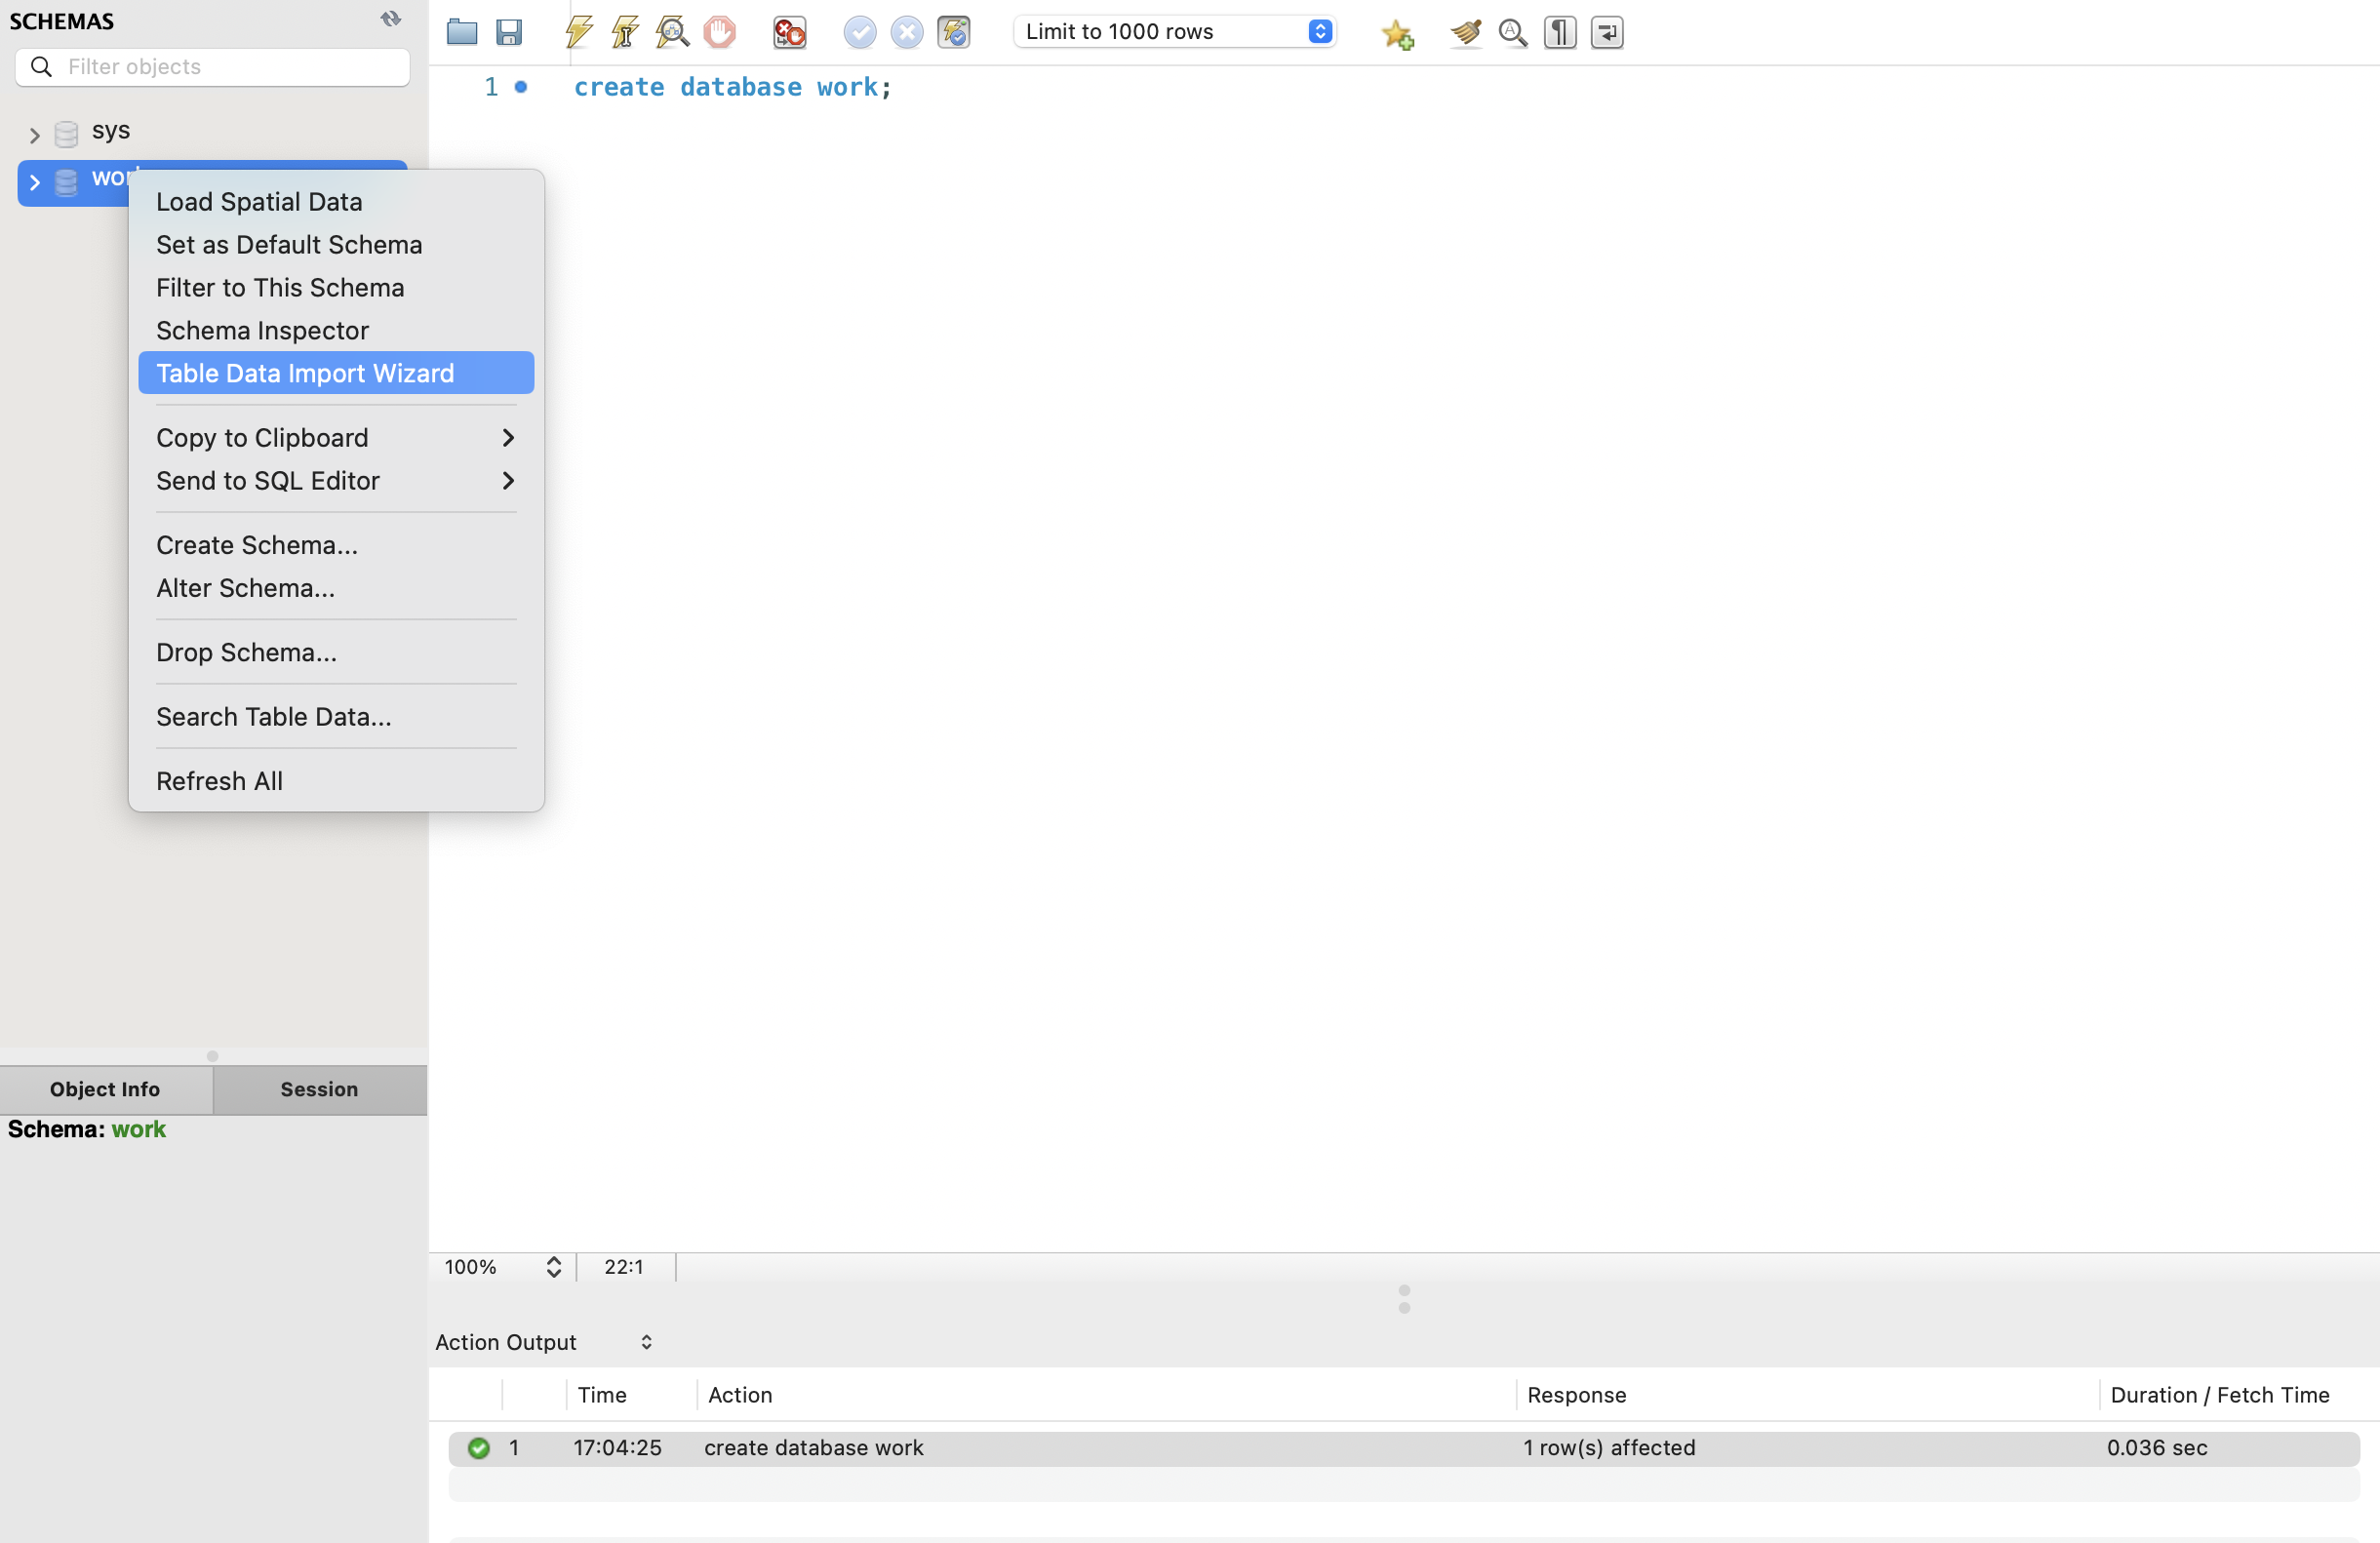
I clicked on my new connection which opens the SQL Editor. I created a database called work. I went to the “Schemas” section and refreshed the page. After the refresh, I saw that my work database had been created. I right-clicked on my database and selected “Table Data Import Wizard.” I uploaded a employees.csv file that I had when I took Steele’s course. It took a few minutes to import the file into the work database.
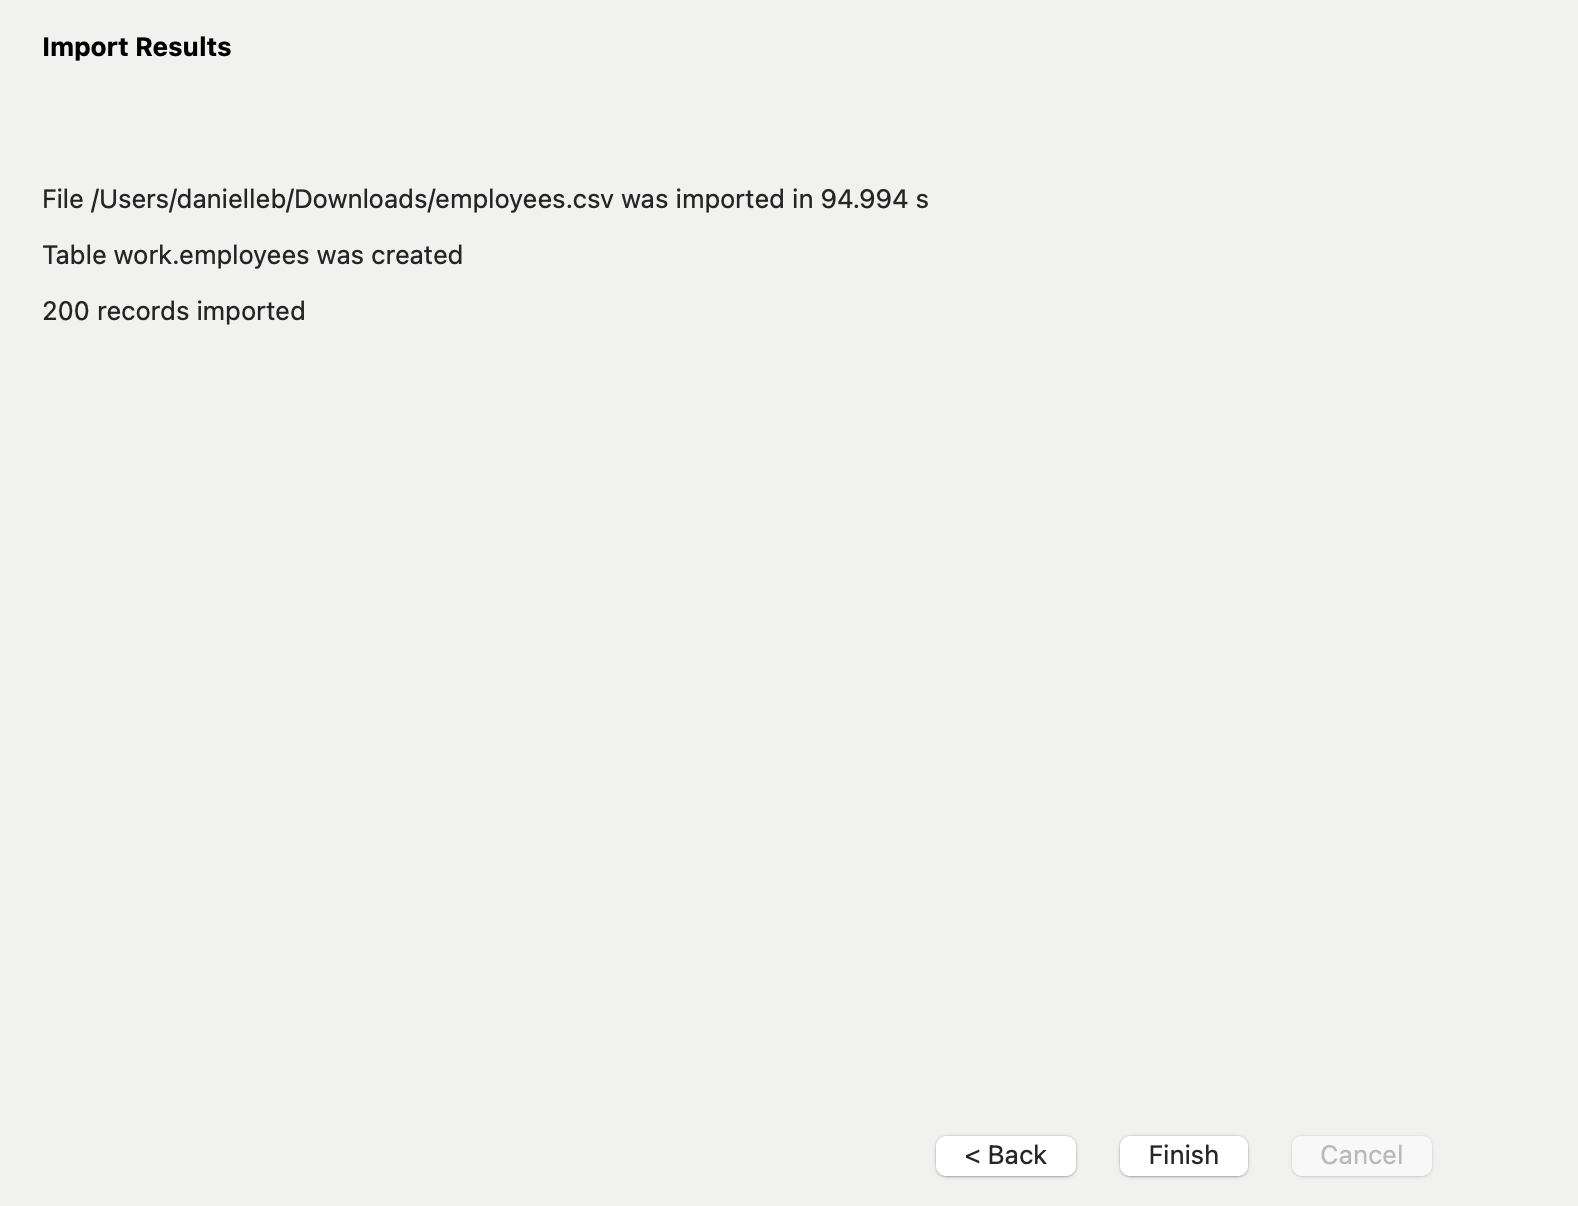
After finishing the data import wizard, I did a test query to see if all the data was actually in the work database. I created a SELECT * (this selects all the records) query and clicked the lightning bolt to run the query. All 200 of the imported records were there!

Just for fun, I created another query, this time to see all the employees who identified as female.

It was quite the journey setting this all up, but it was so worth it! I’m moving on from databases for now and stepping into IAM and security for the next few days.